Sunday, January 9, 2011

Thank You Craig's List...again!

I cannot take any credit for our most recent Craig's List find. Between my husband and I, we cruise the Craig's List For Sale Furniture listing almost every day and my husband discovered this amazing find yesterday!


Beautiful, right?!?!? I am very lucky in that my husband really does have a great eye for design, clothes, you name it. So he spotted this on Craig's List yesterday, I emailed the seller right away, since I have been missing out on some stuff lately, and she called me right back. The seller, a super nice mom, explained that she bought it at an antique store but since they are moving and downsizing don't have room for it anymore. She said the past owner had sanded the top, with plans to refinish it so we may want to paint it. We packed up the fam into the car this morning to go look at it and fell in love! $175 was well worth it. And we LOVED the top just as is! It is unfinished and beautiful. Thank goodness no one ever refinished this. That would have been so sad!


We originally planned to put it in the guest room, but once we saw it and fell in love we couldn't stand to put it in a room that we never go in. So now it has replaced the "soccer ball" side table in our dining room. (I call it that because the tile work on the top looks just like a a soccer ball. Not my best purchase but it is functional so we keep it around.) And it is perfect! Can you tell I am thrilled, excited and did I say in love!


Once again, THANK YOU CRAIG'S LIST!


Tuesday, January 4, 2011

Fabulously Refinished

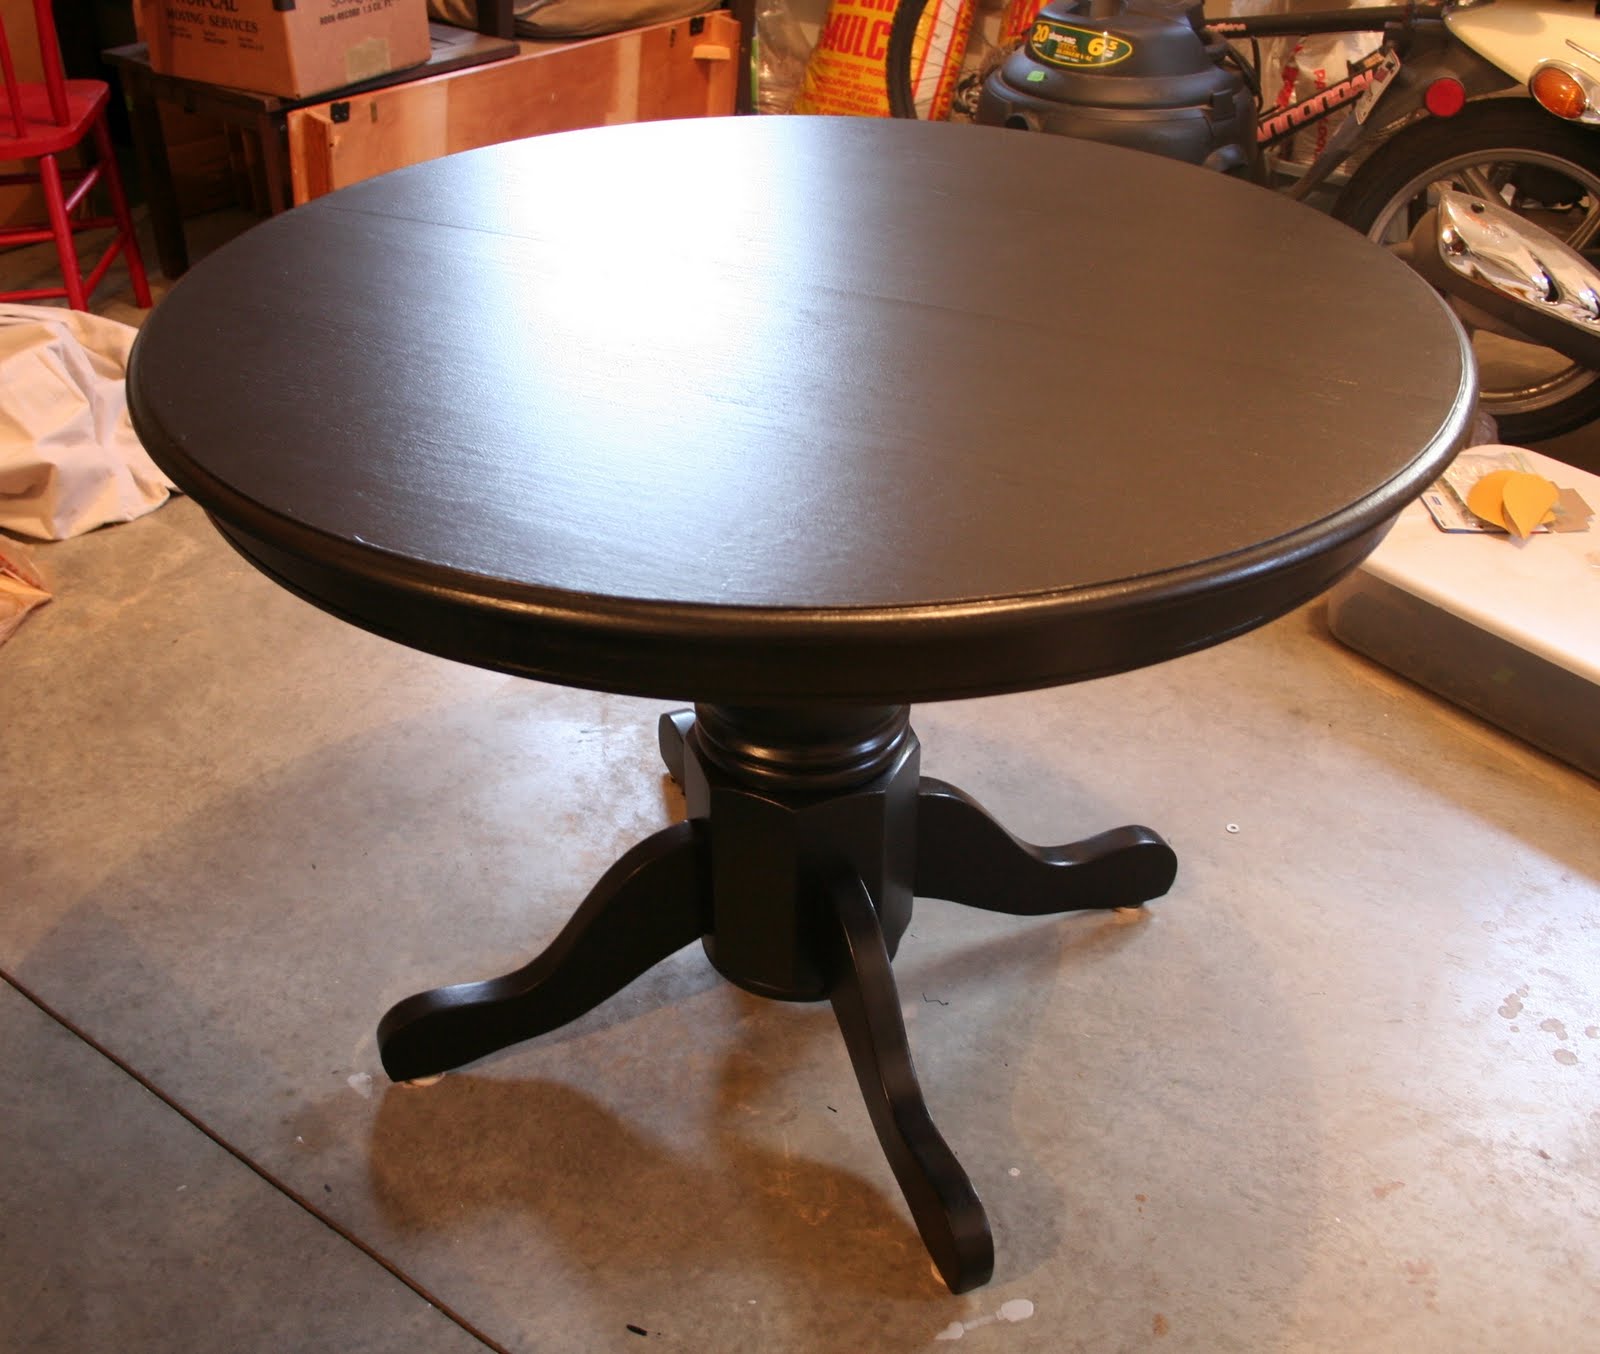
Success! The first item can be checked off my 2011 to-do list. My Craig's List Kitchen Table is complete and it is fabulous. It went from an oak finish to a beautiful black that ties my kitchen and family room together! Here it is...


BEFORE & AFTER!!!


Here is the detailed "how to". So read on if you want to do a project like this. If not just check out the pics to see how it all came together!

I bought the table on Craig's List for $150. It was in great shape but in transport suffered a few dings so the first thing I did was use "Plastic Wood" which is a cellulose wood filler to fix it up. Plastic Wood is very easy to use. You simply apply it to the damaged area with your finger, overfilling it a little. Let it dry for a few hours and then sand it smooth when you sand the rest of the area. You can buy it in different colors to match what you are fixing but you will probably have to stain it or paint it to really match.


Next came sanding. If you do not have a power sander this really is a must. (Check out my post later this week to get the scoop on buying the right sander.) You want to first sand the surface with a medium grain sandpaper. The goal is to remove the top layer of stain and create a surface the paint can grip to. I had to sand the table twice with the medium sandpaper to get this done. You will probably have to sand the nooks and crannies by hand. Wear gloves otherwise your hands end up looking like mine do now...ouch! Next do one more pass with a fine grain sandpaper and it will be ready to prime.

Priming is the next step. I used a grey tinted primer since I was painting the table black. Great idea for dark colors, but go with white if you are using a light colored paint. When you prime you want to be sure you cover everything but don't stress about an even coat just make sure there are no bubbles or drips.

After the primer has dried overnight it is time for the fun part...PAINTING! You shouldn't need more then a quart of paint for something this size (same goes for the primer). I used Glidden Semi-gloss paint in Onyx Black. I also used a small extra smooth foam roller, which worked great.


With the first coat of paint you will still be able to see some of the primer coming through. Just do your best to paint an even coat with no drips or bubbles. On the second coat you want to get full coverage so make sure none of the gray is peeking through. Two coats should do it. That is all I needed but a third can't hurt as long as the paint goes on smoothly. Let the paint dry overnight in between coats. And tah-dah you are done!

In total it took me about five hours of work to get this done. Not to bad for the money I saved and the beautiful end result!
I am finishing up the chairs right now so then you will actually get to see it all in my kitchen. Can't wait!