The first step...find fabric. Seems simple enough but this may take a little patience. I did have to go to several stores before I found what I wanted for the right price. Fabric is not cheap. Well good fabric is not cheap. But fabric stores do have sales so if you are a little patient you can find what you want for a good price. I purchased 5 yards of fabric to complete this project. Do keep in mind, I only did one curtain panel for each window, not two. The windows in Bean's room are small and there are already blinds so this was for decorative purposes only...not trying to block out light. Here is the wonderful fabric a chose...

Numero dos...cut fabric. I started by cutting the 5 yards of fabric into two pieces. I simply laid it on the floor, lined it up with the wall for a straight edge, folded it back on itself, then I cut it at the seam. (I did measure it to make sure it was the length I wanted.) Each piece came to 91". Perfecto! The fabric was already the perfect width (56.5") so no cutting there.

Step three...measuring the hems. I wanted the curtains to be at least 84" long and 40" wide. Please note: I am working with narrow windows so you probably want more width then I needed. After a few quick calculations I determined a 1.5" inch hem on all sides would give me 85" in length and 50.5" in width. A little extra for grazing the floor and bunching to the side. I measured three inches down on all sides, marked it with painters tape and my hems were ready to go.
FOUR...the NO SEW step! The secret ingredient to making this happen is iron on hem tape. Sounds flimsy? Not at all! It works beautifully! I used "Heat N Bond Ultrahold" which I found at Michael's.

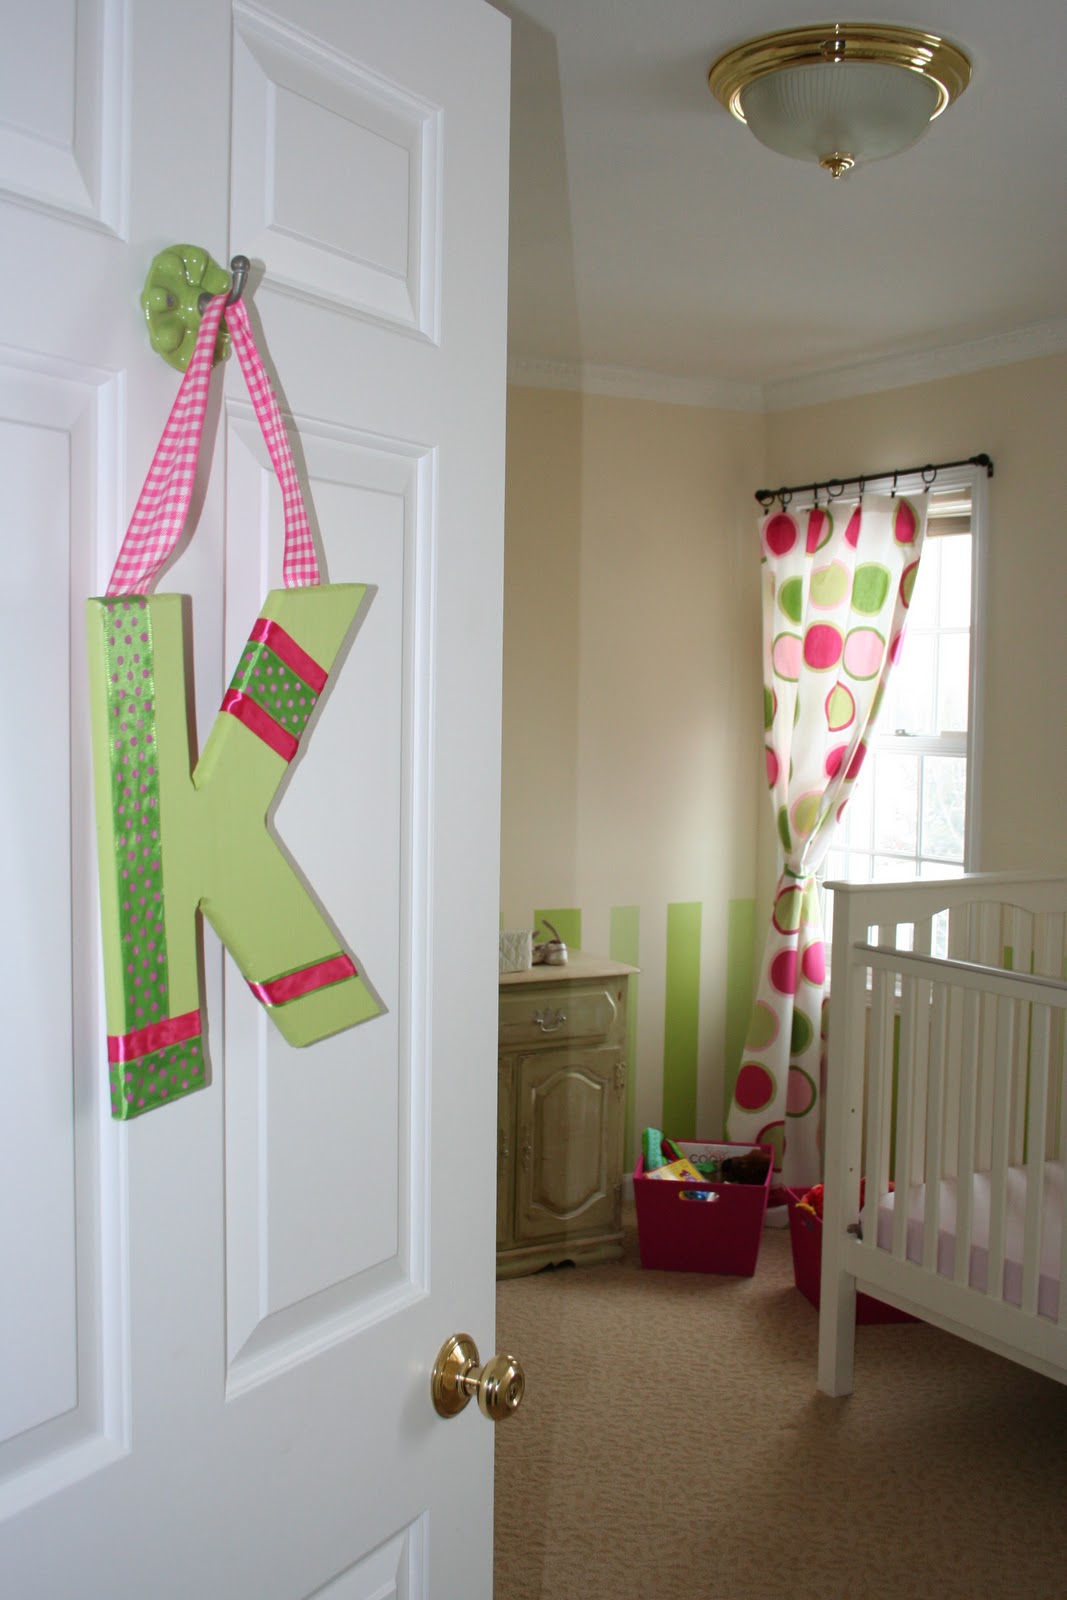
The final step...hang your curtains. You will need curtain rods & curtain clips (unless you create a curtain rod pocket using the hem tape, which I did not). You can find both of these at Target for less than $10 each. Hang the curtain rods according to the directions but take a moment to think about their position! Do you want the fabric to pool on the floor? If so mount the rod a little lower. Do you want to widen or heighten the windows? If so mount the rod wider or higher then the actual window. There are lots of little tricks here to create the illusion you want. For tie-backs I spent $2 on ribbon at JoAnn's and just, well, tie them back!


The real final step...look at what you made and jump up and down with GLEE! At least that is what I did. (Sorry, no picture of jumping available.)