And today I finished a project that is so much fun...

I initially got the idea from the always wonderful Pinterest. I followed a pin through a few websites until I found Cakies which was just the tutorial I needed to get started. But so you don't have to follow the trail, I broke it all down for you right here with my very own DIY Kid's Tent Tutorial!
For the frame you will need...
4 - 48" 1x2's
1 - 48" 3/4" wooden dowel
drill with 3/4" spade bit
measuring tape
pencil
paint (optional)
Once the 1x2's are cut down to size measure 6" from the top of one end. Make an X in the center of the wood and repeat for the other 3 pieces.

Using the drill and spade bit make a hole in each piece of wood at the spot you marked.

And now the cutting is done! The next step is optional. If you would like, you can now paint the wood with 2 coats of interior paint. This is not necesary. I chose to do it because I used older wood that I had in my garage and it was all mis-matched in color. So I used 2 coats of white paint that I had in the garage to hide the color difference and to make it look more finished. You could use a bright color to add more pop or as I said skip this step entirely. But because I did paint, I had to let it dry overnight so it technically took more more than an hour to complete this project, but drying time is not working time so that doesn't really count!
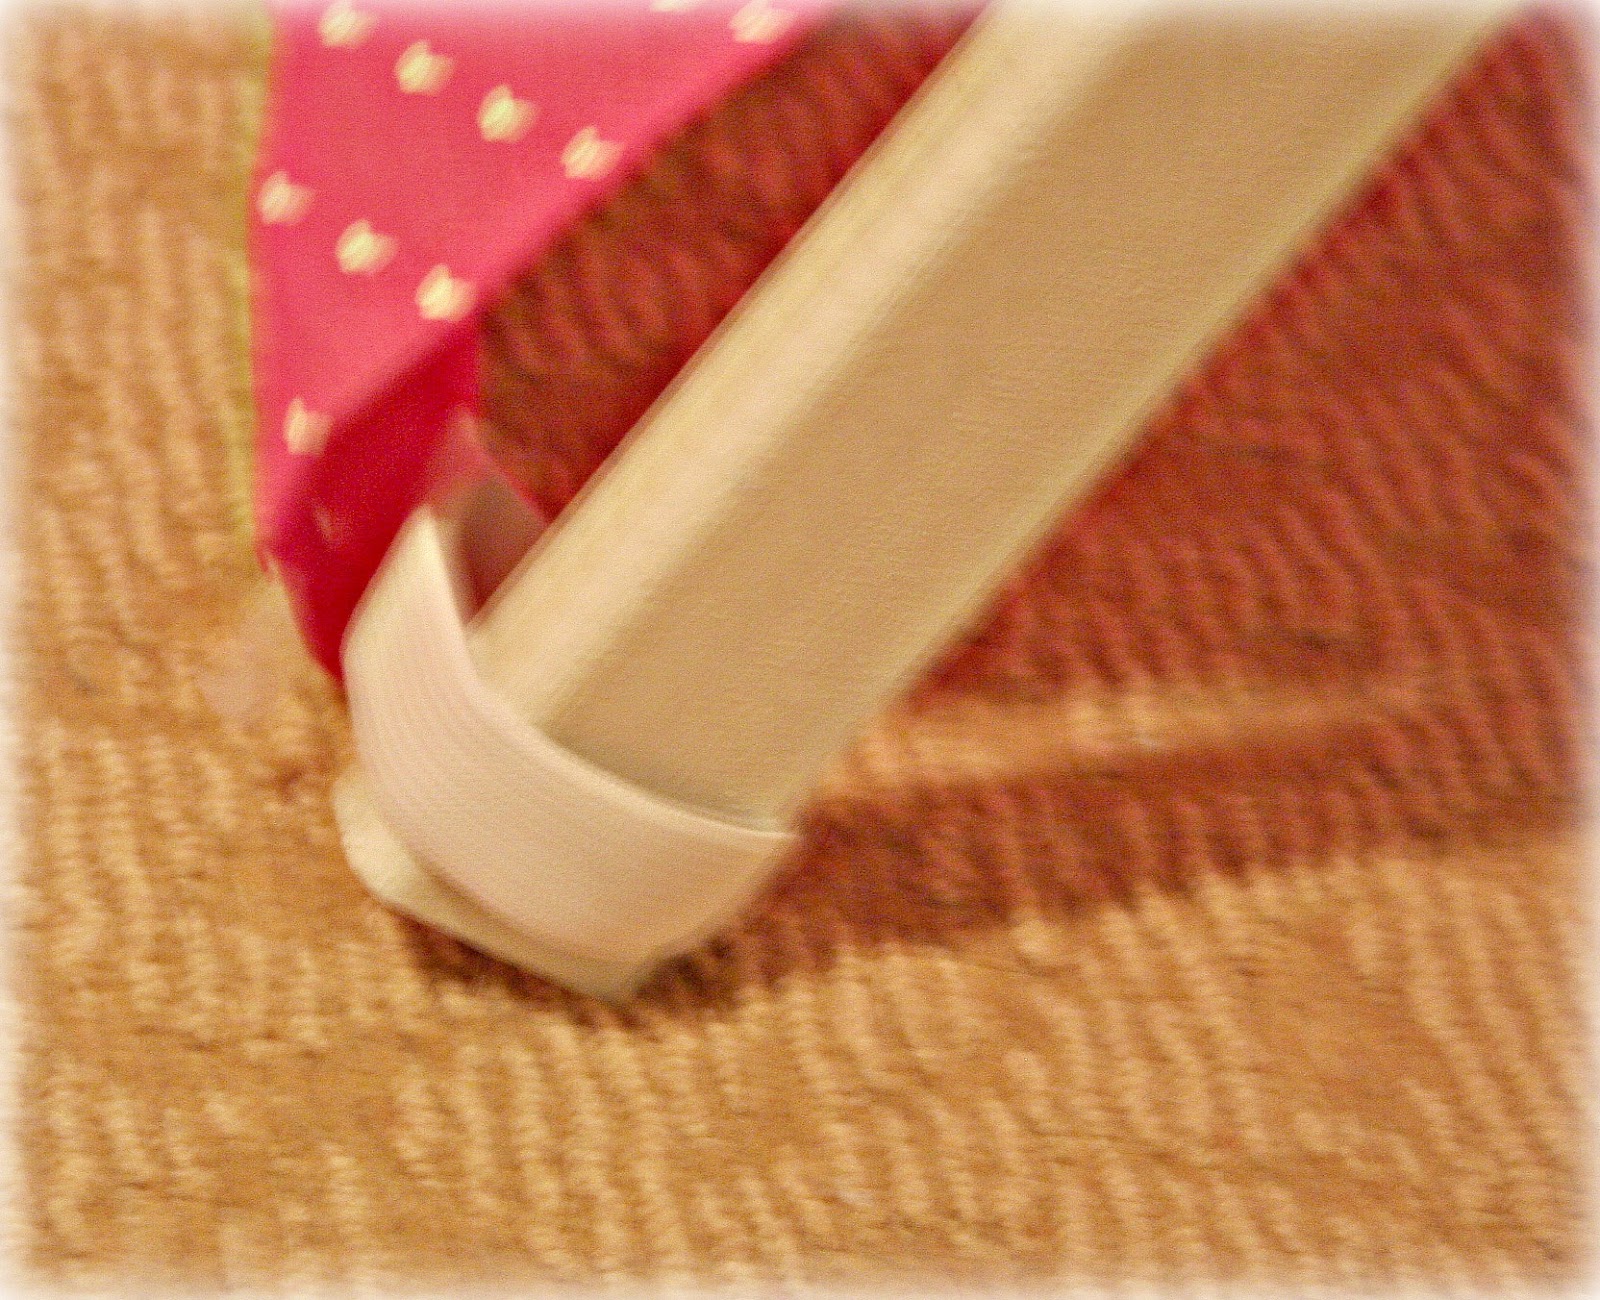
Next, line the holes up on two of the pieces of wood and slide the dowel about 2 inches into the holes.


1 piece of fabric - 46"x85" un-hemmed 44"x83" hemmed
4 - 5" pieces of elastic
scissors
either a sewing machine & thread OR Switch Witchery (for the no sew option)
Begin by cutting the fabric (or sheet) down to 46"x85". Then you will want to hem the unfinished sides. Because I do not own a sewing machine (or know how to use one) I used Switch Witchery. Now I have used both Switch Witchery and Heat n Bond and they both work great.

I chose Switch Witchery this time around but either will work! You can find them both at Michael's in the small section of sewing stuff. Don't forget your 40% off coupon :)
You want to hem about two inches on each side taking the fabric down to 44"x83". But don't spend tons of time on this. Close is good enough for this project.

Next, cut 4 pieces of 5" long elastic. You will then fold a piece of elastic in half and sew (yes, I used a needle and thread) the piece to the corner of the fabric. Repeat this in each corner.

Drape the fabric over the frame and hook the elastic around each leg.
At this point my fabric was drooping a bit in the front. I adjusted it a bit and then decided to use adhesive dots to attach the fabric to the frame in a few spots. I only used a few because one of the things I love about this design is how easy it is to fold up and put away so I didn't want to mess that up by making anything permanent. I added some pillows, carpet circles and Bobby the Giraffe and it was all done! Doesn't he look happy in there...


This post was shared on...